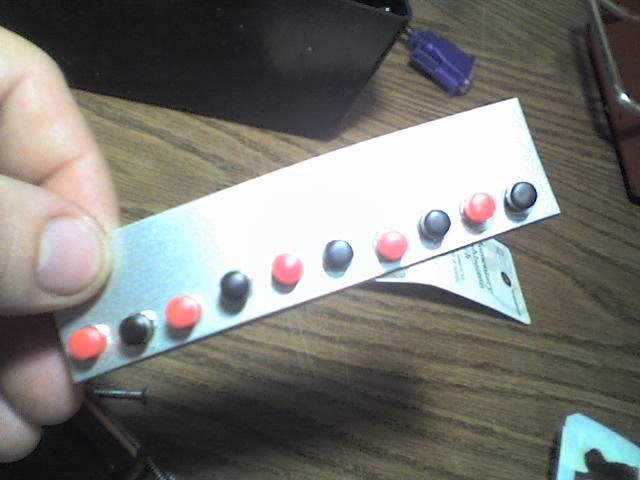
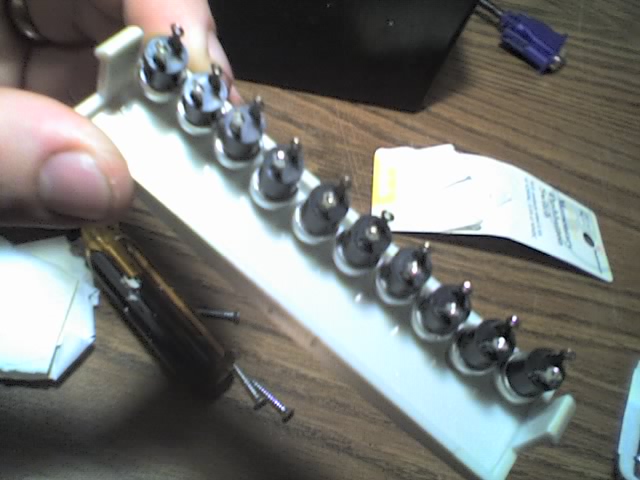
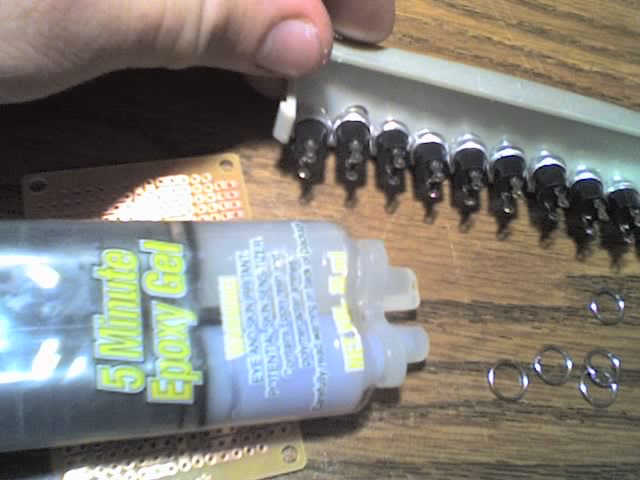
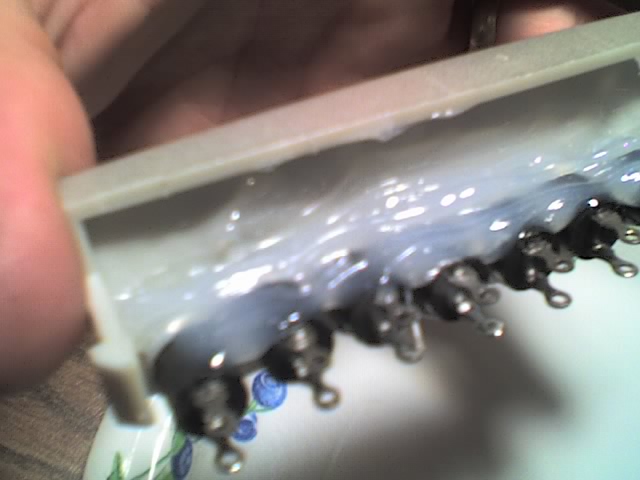
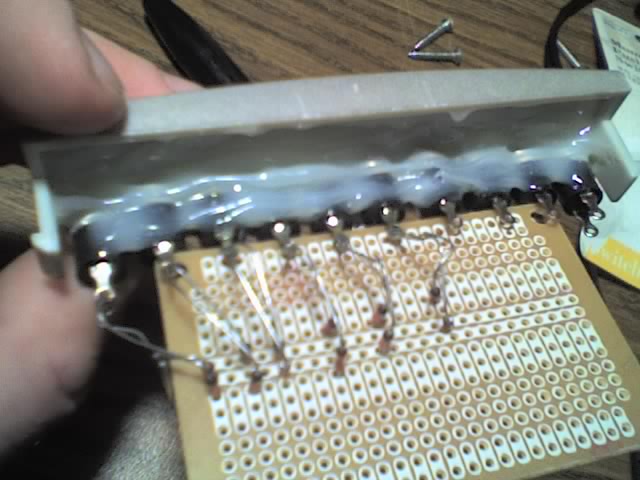
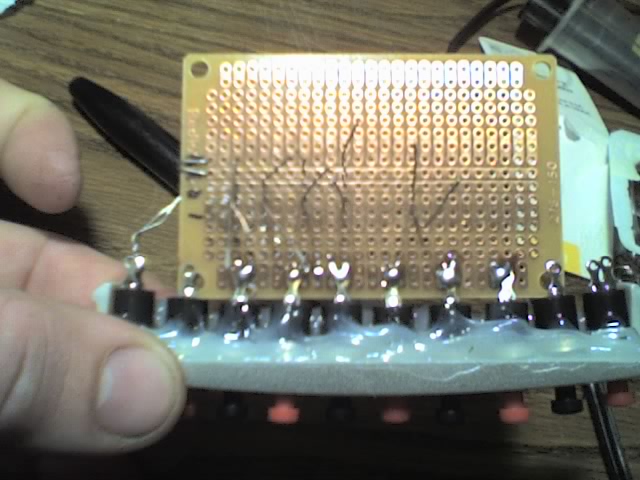
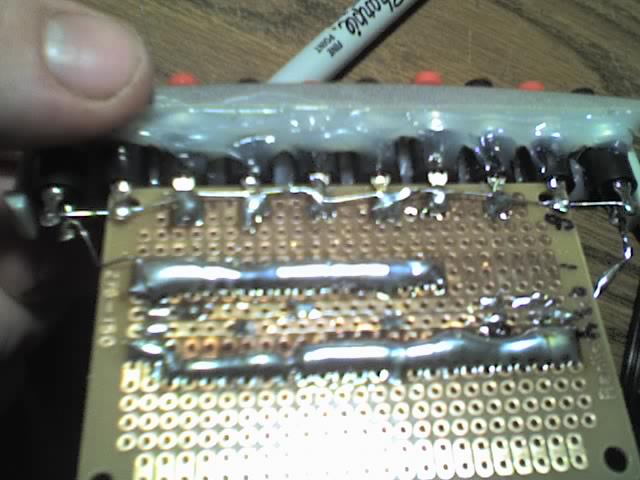
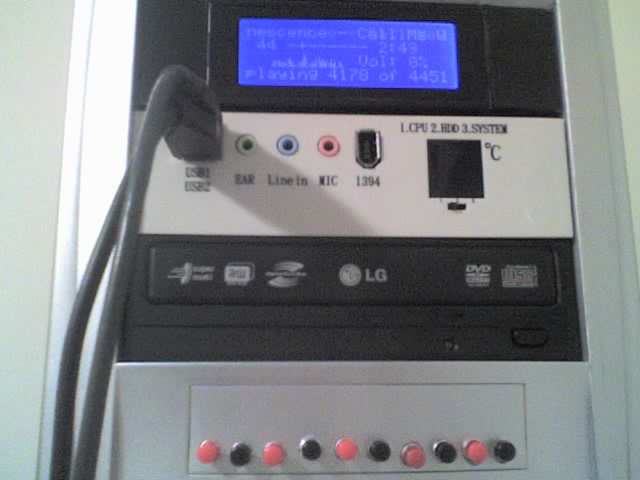
Here are the pictures of my button installation above my floppy drive in the 3 1/2 slot. 10 switches and each work great, and yes I know my switches are wavy and not straight, I will fix that later on, but hey they work.
The row of red and black buttons looks kinda funky cool (even if it is a bit wobbly as you say!). Now you need some labels to show what they do... controlling media players, switching themes/screens etc.
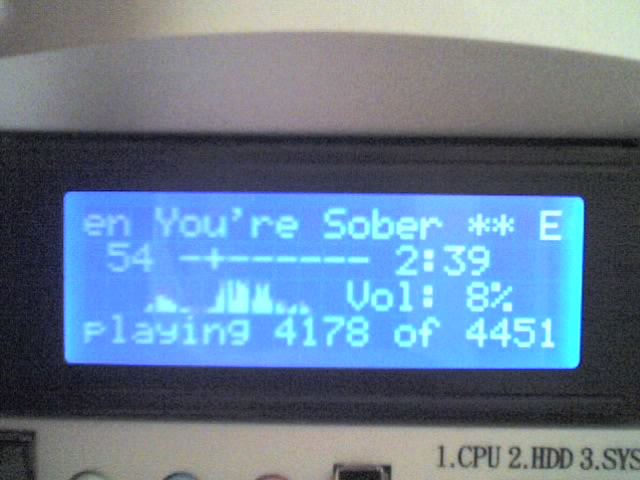
What are the buttons connected to? Does you LCD have button support (like Matrix Orbital or similar)? Or parallel port with the buttons plugin?
Parallel with button plugin, just used 10 of the 15 available buttons with the button matrix. Im probably going to cheat and print out a label to just peel and stick on it. I will probably make the first one "power" to turn on winamp and the others to control it. I will probably end up making a new insert out of plexiglass to get it all straight. but thanks for the comment.